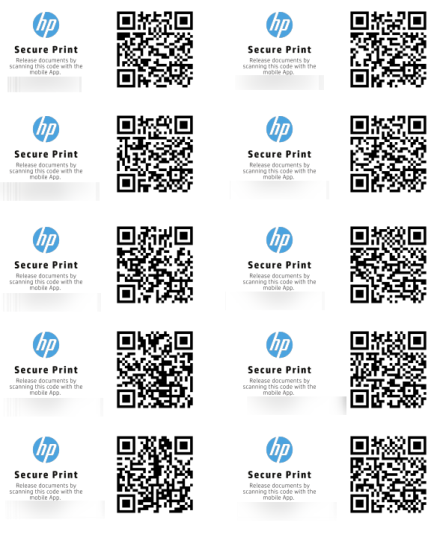
Generate QR Code Labels (for QR Release)
Generate and print the QR code labels that users scan at a secure printer to release their print jobs. QR Release lets users authenticate by scanning a label attached to the printer instead of signing in at the device.
Before you begin
- You have administrator access to the web console.
- The printers are secured with QR Release enabled. QR labels can be generated for Secure Printers only.
- QR Release is enabled as a User Workflow. See Configure Secure Release.
- You have A4 or Letter label stock available for printing.
Steps
Open the Secure Printers list
Navigate to the Secure > Secure Printers tab of the web console.
Select the printers
Select one or more QR Release enabled printers for which to generate QR labels.
Generate the labels
Click Generate QR Labels in the drop-down menu (next to either Deploy QR Release or Remove QR Release). This creates a QR code label for the selected printer.
Choose a paper size
Select your preferred Paper Size. The choices are A4 or Letter.
Download the label template
Click Download PDF to download a laser printer label template (standard "2 x 4”) and then open or save the file.
Print the labels
Print the QR code labels.
Attach the labels to the printers
Attach the QR code labels to the appropriate printers based on the network address shown on each label.
Result
Each selected printer now has a QR code label attached. Users can scan the label at the printer to authenticate and release their print jobs.
Here's an example of the QR labels that Secure Print generates.